I Made the Switch to Proxmox: How Windows and Linux Coexist Harmoniously on a Single Machine

Microsoft builds Windows under the premise that it will be the sole operating system on a computer’s drive. Consequently, it often encounters issues when coexisting with another OS. Users attempting to dual-boot Windows and Linux usually report a challenging experience.
Even if the installation process is seamless, conflicts between the operating systems are likely to arise later. As someone who has maintained a dual-boot setup for several years, I’ve faced common issues like clock synchronization errors, bootloader problems, or BitLocker complications. Fortunately, there’s an effective alternative.
Introducing Proxmox
A Dedicated OS for Virtualization
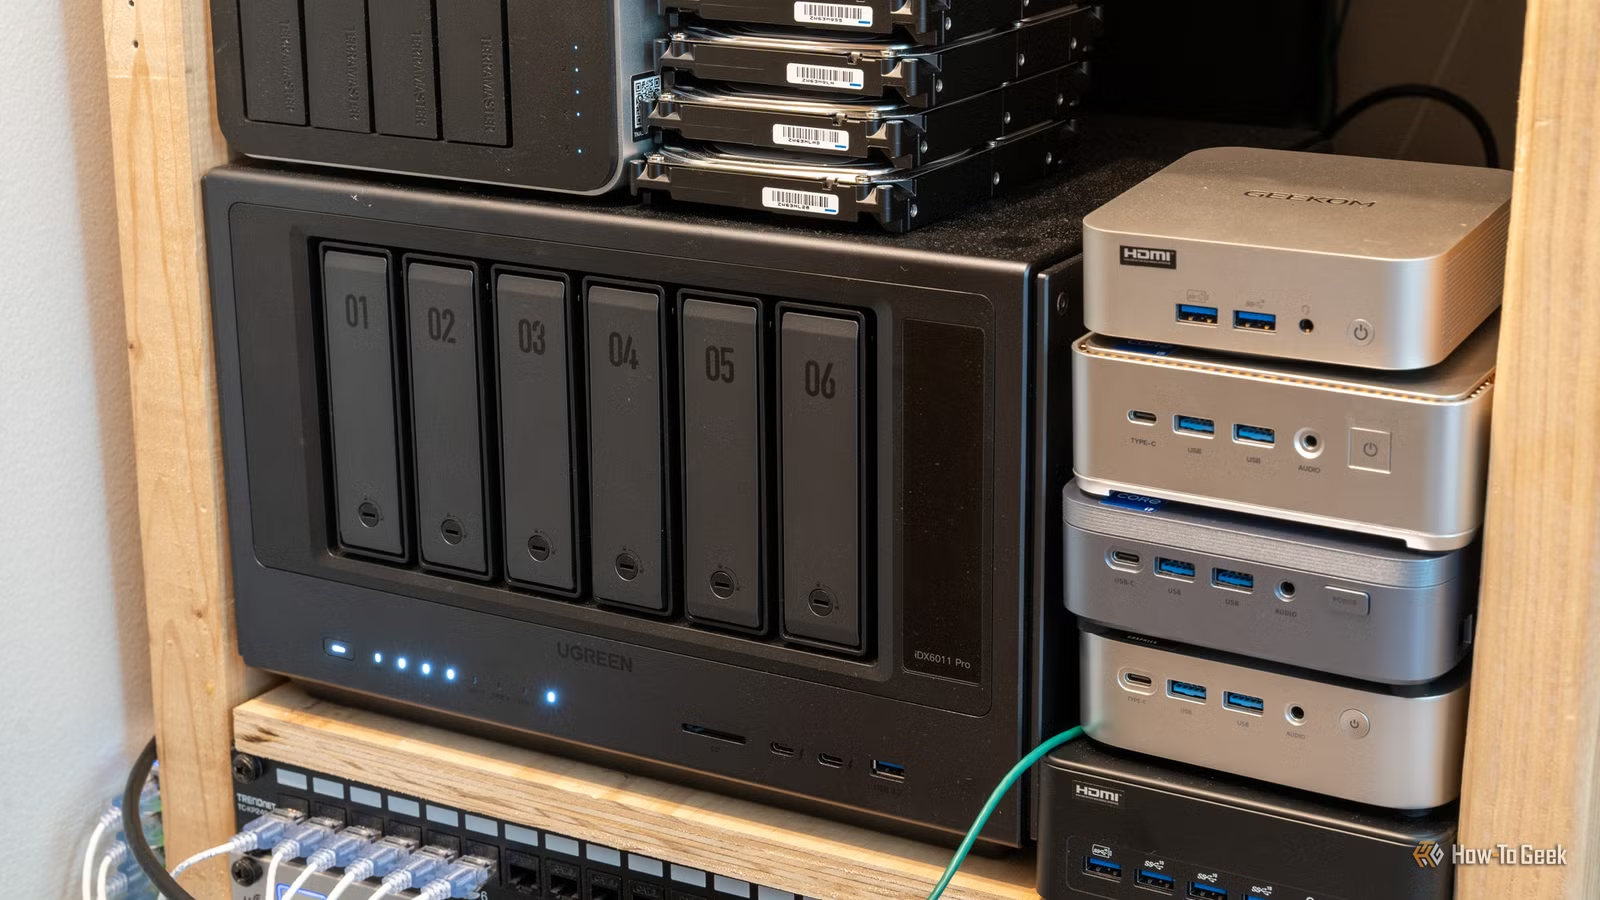
Proxmox is designed explicitly for managing virtual machines (VMs) and lightweight containers, operating with minimal resource usage. It’s like an “operating system for running operating systems.”
Rather than installing multiple operating systems on the same drive, Proxmox enables the installation of siloed virtual machines that can run concurrently without interfering with one another. This setup eliminates the need for switching back and forth. It even supports hardware passthrough, allowing VMs to directly use your computer’s hardware components, such as the GPU.
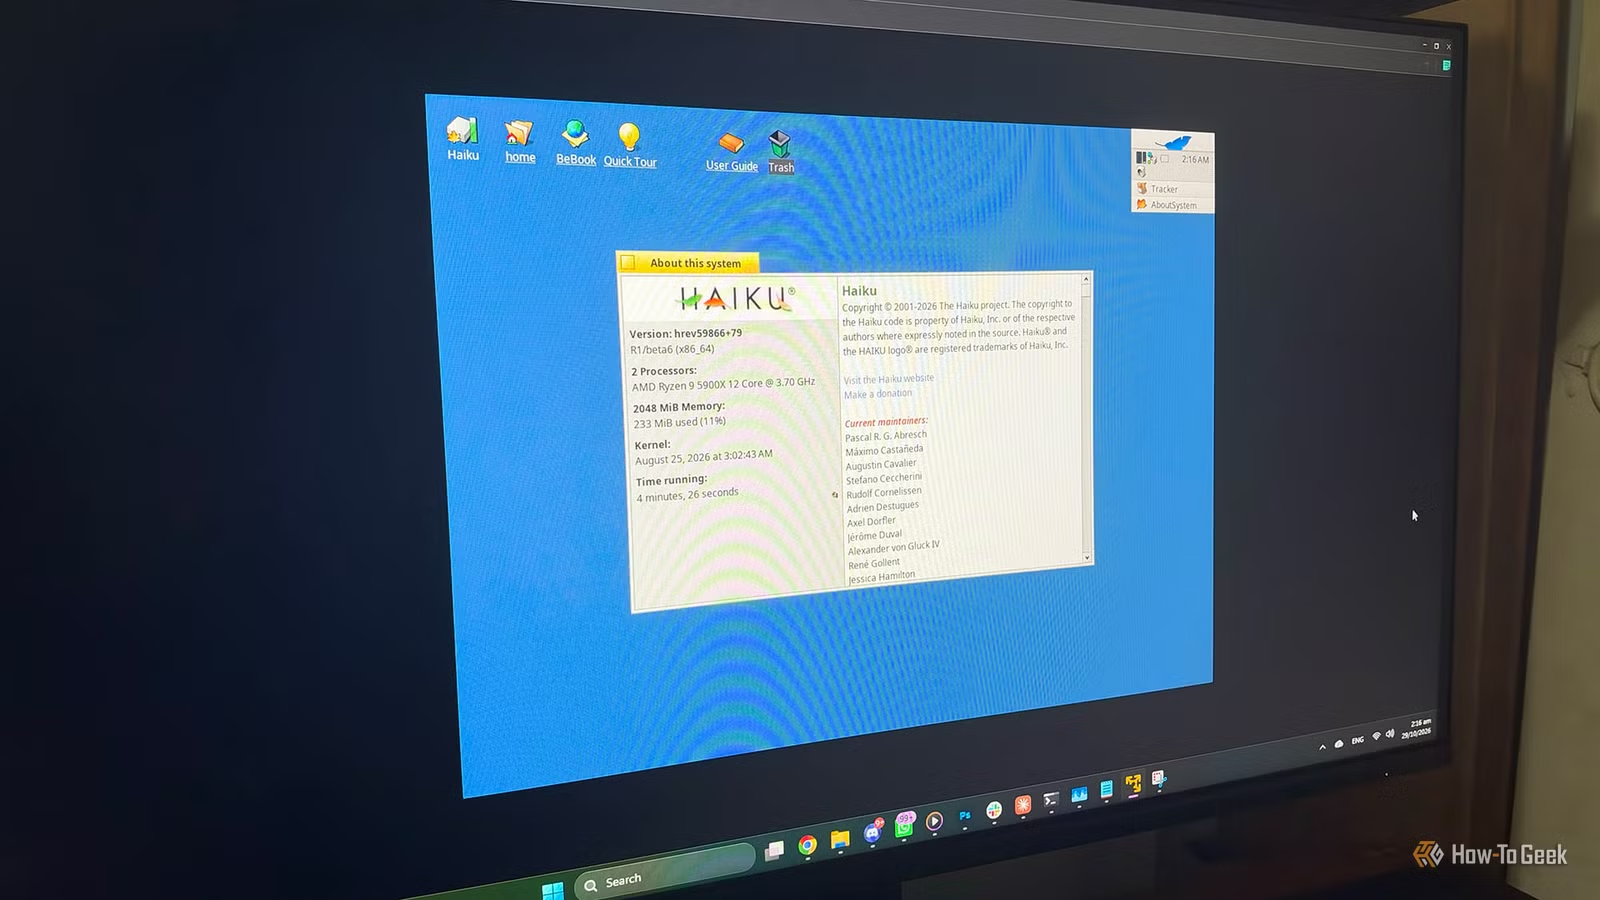
You can run numerous virtual machines simultaneously, depending on your computer’s specifications. Personally, I have an Android virtual machine operational on my Proxmox setup.
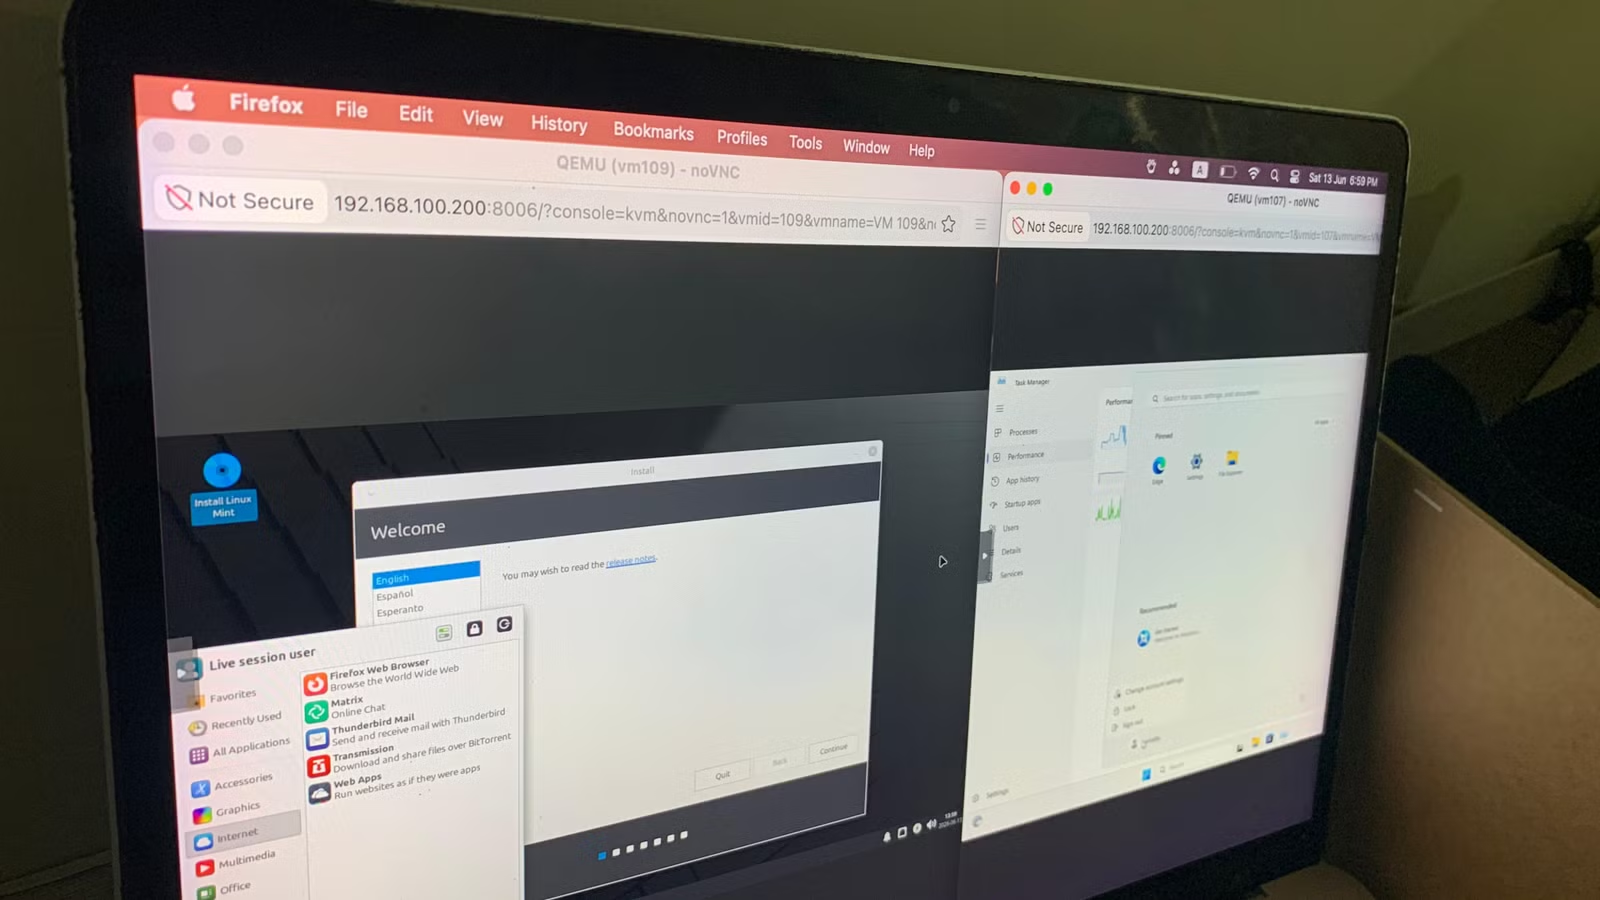
Proxmox is not intended to replace a standard operating system; it is designed to operate in a headless environment. You access it via a web user interface using other devices. Any device with a web browser can interact with your Proxmox server and the VMs hosted on it.
Moreover, Proxmox allows you to self-host various services such as a media server, a photo storage solution, a home assistant, a password manager, and more.
Setting Up a Windows Virtual Machine on Proxmox
Creating and Running a Windows VM
To get started, you’ll need two essential items:
- A Windows installer image in .iso format
- A virtual machine on which to install Windows
Access the local storage tab on the Proxmox web interface, navigate to ISO images, and select Download URL. Retrieve the download link from Microsoft’s website and paste it into the URL field. Assign a simple name to the ISO and commence the download.
Next, create a Windows virtual machine using the installer image. Click the “Create VM” button in the top-right corner and select your recently downloaded ISO. Leave the rest of the settings as default.
When the setup window shifts from OS to System, choose your SSD drive and allocate the necessary storage space.
In the CPU section, decide how many cores to dedicate to this VM, retaining the other settings as they are.
Assign a minimum of 4GB of RAM under Memory and then click “Start” to launch the VM.
An active virtual machine will feature a small green icon next to its name on the left panel. Click the “Console” button to open a viewport, allowing you to interact with the VM directly from any device.
Follow the prompts through the Windows installation setup, and soon your Windows VM will be up and running. If you find the default web interface cumbersome, consider using the Windows Remote Desktop Protocol (RDP) for a smoother experience.
Getting a Linux Desktop on Your Proxmox
Simple Setup and Operation
Setting up a straightforward TTY environment for your Linux virtual machine is very easy. Just input a community script for the desired OS in the Proxmox shell, and it will manage everything automatically.
If you’re in need of a complete GUI desktop, obtaining an .iso installer image is advisable, similar to the process for Windows.
Configuring a virtual machine for a Linux system is simpler. Set the CPU cores, storage, and RAM to your preferences while leaving the other settings at default.
Unless you opt for an advanced distribution like Arch, you will be taken to a live Linux environment where you can use a graphical installer. After the setup, the OS will reboot into the full virtual machine.
If you’d like to avoid using the web console, connecting to Proxmox via virt-manager can enhance clipboard sharing and performance, especially if you’re accessing it through a Linux machine.
Simultaneously Running Multiple Operating Systems
You can keep your VMs running in the background and switch between them as needed, saving you from rebooting. Additionally, since the virtual machines operate in isolated environments, conflicts will not occur between them.