No matter if your home lab is built around a simple ISP router and a compact PC or a full-fledged server rack occupying your attic, it can generally benefit from a few thoughtful enhancements.
Here are seven suggestions that range from low-cost to moderate investments.
A Label Maker
Clarifying Your Homelab
Managing a growing homelab can become quite challenging, especially if you’ve chosen a whimsical naming convention for your devices. For instance, naming your hardware after characters from Street Fighter might be entertaining, but it can be confusing when trying to identify which device is Ryu and which is Ken. A label maker can easily solve this dilemma.
While you could use handwritten notes, printed labels are far more durable and legible. Utilize the label maker to clearly tag Ethernet ports, pieces of equipment, drive slots, and other machines on your network, ensuring you always know what each component is.
Label makers also have multiple applications throughout your home, so you’ll find plenty of opportunities to use them.
ESP32-Powered Uptime Monitor
Delegate Monitoring to a Microcontroller
Monitoring the uptime of your homelab can help you quickly identify issues. However, it’s crucial that your uptime monitor operates independently of your primary setup. If it’s running on the server you need to keep an eye on, it’s ineffective—if that server goes offline, so does the monitor.
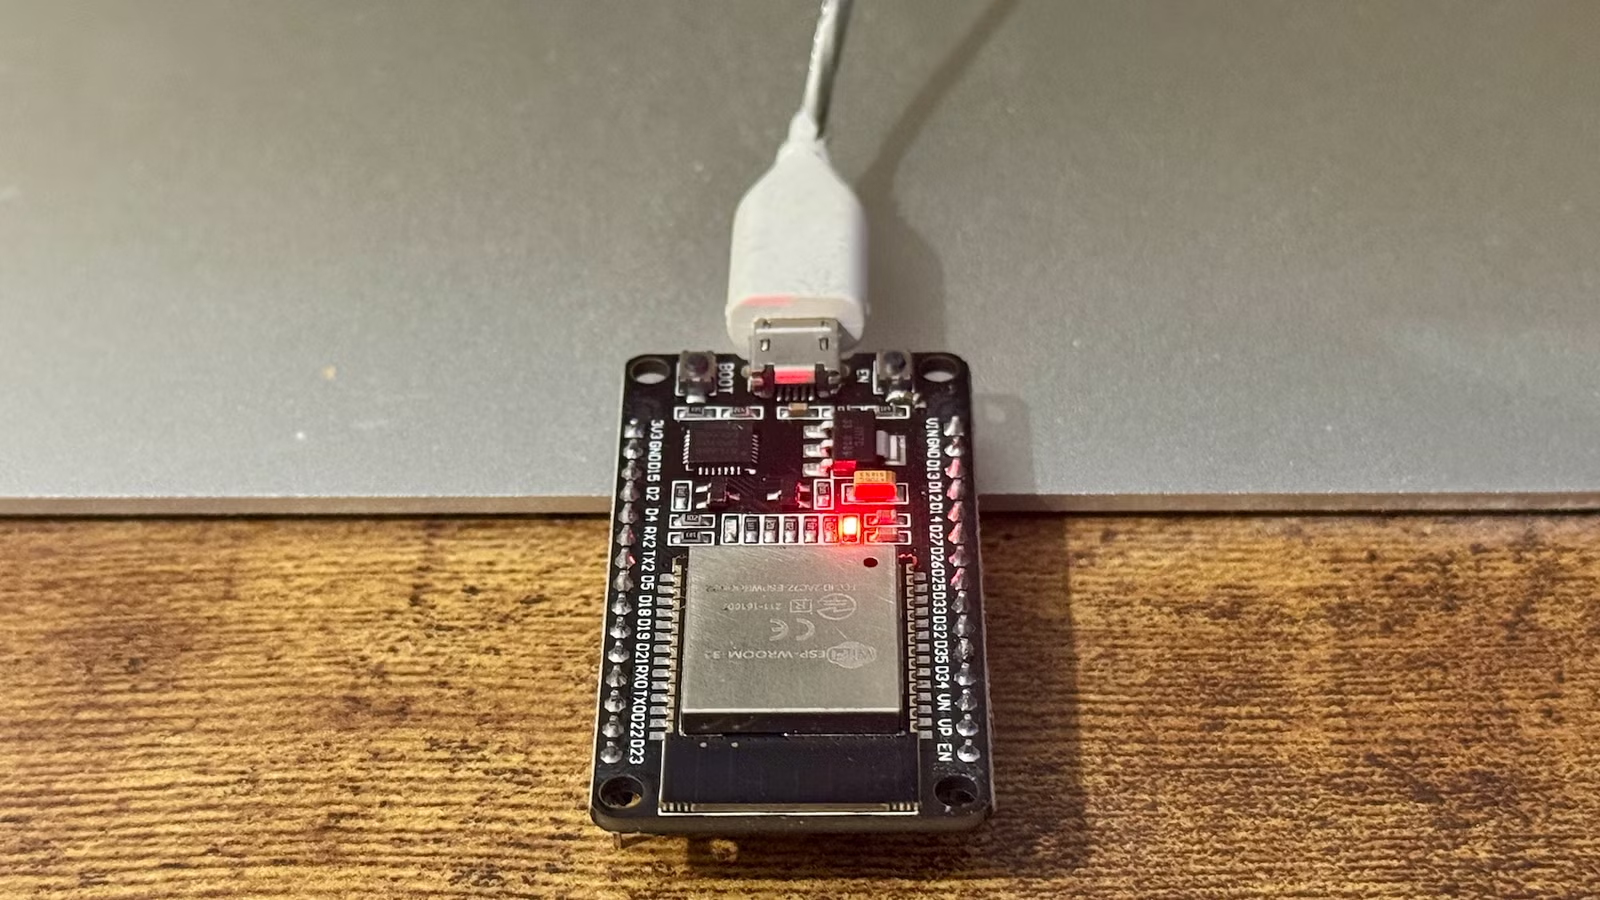
Instead of purchasing a dedicated device like a Raspberry Pi, which can be more costly, consider a small, affordable microcontroller like the ESP32. This option is both efficient and low-power. Notably, Adam Conway from XDA-Developers has documented a project using this very approach, with code available on GitHub.
You can also set up an ESP32-based internet connectivity monitor that triggers a simple LED light to indicate the status of your internet connection.
WLED Lighting
Create a Stylish Homelab Ambiance
While functionality is key to a homelab, it’s hard to deny the appeal of a setup adorned with glowing lights and a flurry of activity. For those who want that aesthetic, you can create customizable RGB lighting using an ESP32, LED strips, and WLED.
In conjunction with Home Assistant, you can even integrate your homelab monitor to use various light patterns as alerts for hardware malfunctions, overheating issues, and more.
Energy-Monitoring Smart Plugs
Gaining Insights and Practical Benefits
Understanding the energy consumption of your homelab can assist in making wiser hardware choices. The simplest way to monitor this is through an energy-monitoring smart plug connected to a platform like Home Assistant. You can set up your entire homelab on a power strip and connect that to an energy-monitoring plug, provided you remain within the plug’s power limitations.
This setup allows for real-time insights into your equipment’s energy consumption, revealing how different applications affect your utility costs. You might think expanding your homelab with an older desktop is beneficial, but if the additional performance isn’t used, it could be wiser to stick with an existing laptop.
Moreover, these smart plugs can trigger automation based on power variations, sending alerts when energy consumption changes unexpectedly. For instance, a sudden drop in power draw might indicate a device failure, prompting a notification.
ESP32 Marauder
Test Your Wi-Fi Security
The ESP32 Marauder is a versatile device designed for penetration testing, offering various tools for assessing network security. This device is beneficial for anyone managing a Wi-Fi network, especially those with an advanced homelab setup.
Building a Marauder can be quite affordable, especially with the cheaper variants like the ESP32 Marauder Cheap Yellow Display that offers immense value.
An Android Smartphone
Put It to Use Instead of Letting it Gather Dust
If you have an old Android smartphone, don’t let it languish in a drawer. These devices can serve effectively as dedicated network monitors or security cameras, enhancing your homelab’s utility. The flexibility of using Python can also vastly expand what you can accomplish with your phone, whether as a timer or a means to utilize various sensors.
3D Printer
The Costly Upgrade with High Potential
While not the most affordable option, investing in a 3D printer opens up vast possibilities, including the chance to save money over time. One of the best uses for a 3D printer in your homelab involves creating custom racks, mounts, and various support structures as needed.
Additionally, you can produce enclosures for NAS, devise cable management solutions, and generate all sorts of storage solutions to organize your homelab efficiently. Beyond your lab, 3D printing can also be applied in numerous areas such as self-hosted solutions, like OctoPrint or Bambu Lab’s alternative, Bambuddy, to keep operations strictly local.
If you haven’t started your homelab journey yet, rest assured that you don’t need much to get going!