Tailor Your iPhone Camera for Enhanced Usability
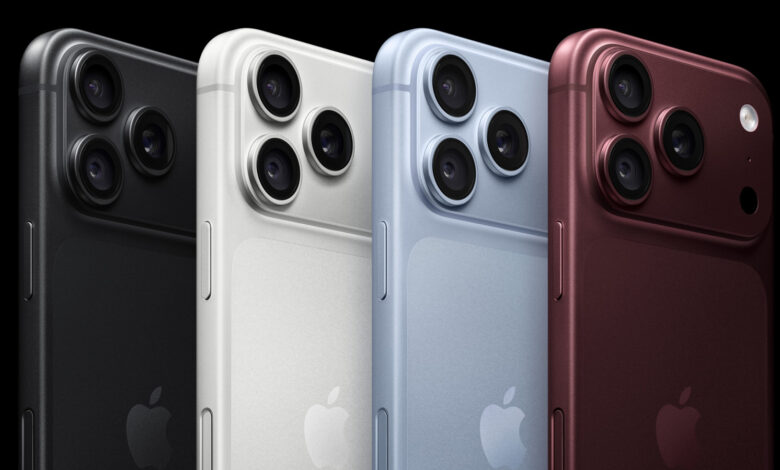
Are you fully utilizing the Camera Control button located at the bottom right of your iPhone 16, 17, or 18 series? Known as Camera Control, this button can be adjusted to align with your mobile photography needs.
To clarify, Camera Control is the capacitive button on the right side of your iPhone, able to interpret various gestures like single taps, double taps, and swipes. It’s used to launch the camera, capture photos, record videos, and access advanced camera settings.
This feature is ideal for one-handed photography, with its default settings allowing for:
- A single click to open the Camera app.
- A swipe to navigate different photographic tools like exposure and zoom within the app.
- A second click to take a photo.
- A long-press to record a video.
- A double-click to activate Visual Intelligence, enabling questions to Siri about your surroundings.
Adjusting the Camera Control Button
You can easily modify these default actions by navigating to Settings > Camera > Camera Control. This section features multiple options, specifically focusing on two key areas: Launch Camera and Controls, along with a few additional adjustments.
In the Launch Camera area, tap Camera to select which compatible app should launch when activating the Camera Control button. While the default is the Camera app, other applications may appear if installed. Options like Instagram make your iPhone a quick tool for creating stories, while the Code Scanner enables easy QR code scanning, and Magnifier allows for enhanced digital magnification. Third-party apps may also be available but could be limited in functionality.
The Controls section contains various settings worth exploring, including Camera Adjustments. By turning this feature on, the Camera Control button becomes even more functional, allowing light presses or swipes to navigate camera options while the Camera app is open.
The Customize option lets you specify which gestures Camera Control recognizes in this mode, including supports for light presses and swipes. You can also enable or disable six potential adjustments that the Camera Control may support, which are:
- Zoom
- Exposure
- Depth
- Cameras
- Styles
- Tone
To modify settings, simply tap the checkbox next to each function or long-press the hamburger icon (three horizontal lines) to rearrange them. This way, when you take a photo in the future, you can easily swipe through your preferred adjustments in your specified order.
Discovering More Camera Control Options
Beyond the features mentioned, Camera Control offers:
- Single Click or Double Click: Utilizing the double-click option may help prevent accidental activation of the camera.
- Require Screen On: This toggle, when activated, will prevent the camera from opening accidentally while your iPhone is locked.
- Lock Focus and Exposure: With this feature activated, maintaining focus and exposure is possible as long as you keep pressing the button.
- Launch Visual Intelligence: When this option is turned on, pressing and holding the Camera button will activate Visual Intelligence to interact with Siri.
Additional customizations can be found in Settings > Accessibility > Camera Control, where you can disable the button entirely and adjust the force and speed needed for a response. You can choose settings such as Default, Slow, and Slower.
In my experience, setting the button behavior to Slow has helped prevent unintended camera openings while handling my device, and limiting the camera adjustments to Zoom, Exposure, and Styles keeps me focused on capturing images rather than managing infrequent controls.
The essence of Camera Control is to tailor it to your personal workflow, making it significantly easier to take photos, videos, and utilize Visual Intelligence with just one hand.