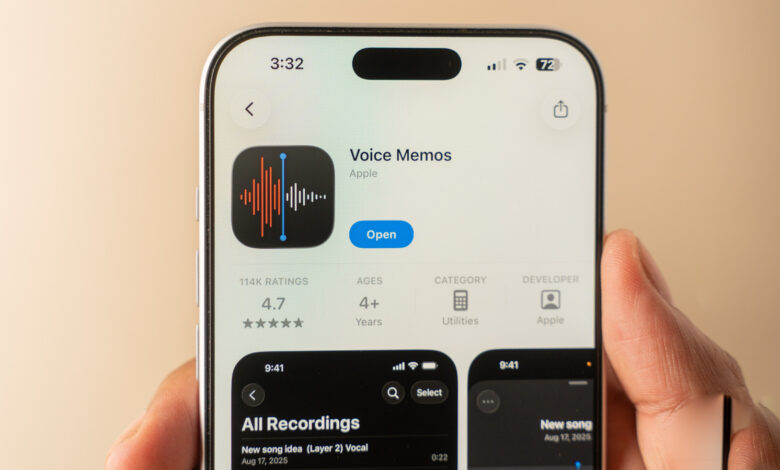
The iOS Voice Memos app is packed with features, from audio transcription to advanced editing options.
iPhones are renowned for their impressive cameras, but they also shine when it comes to recording audio. Whether conducting an interview or capturing a lecture, recording sound on your iPhone is simple, and you don’t need any additional apps.
The Voice Memos app is integrated into iOS and is compatible with all recent iPhone models. This app boasts features like transcription, making it very useful. To begin, launch the Voice Memos app (it has a black icon featuring sound waves). If it’s not visible on your Home Screen, swipe down to use the search function. If you previously deleted it, you can easily reinstall it from the App Store at no cost.
Using the app is straightforward: tap the red button to start recording, and tap it again to stop and save your recording. However, beyond this basic function, there are several additional features you can explore.
Exploring the iPhone’s Voice Memos App Hidden Features

While recording, you can access additional handy options. Swipe up from the recording card to bring up a full-screen interface allowing you to pause and rewind. This feature is great for revisiting critical points or correcting mistakes, as you can re-record specific sections easily. For those using an iPhone 16 Pro or newer, multitrack audio recording is also possible by tapping the Plus button.
Before starting multiple recordings, navigate to Settings > Apps > Voice Memos to adjust crucial settings. Under Recording Mode, you can choose between Mono, Stereo, and Spatial (for compatible models). The Spatial option provides “3D audio” that surrounds the listener.
On the recording page, you’ll find four buttons in each corner of the screen. Tapping the three-dot button in the upper left reveals a Copy Transcript option, enabling you to paste your notes into other applications. The Trim feature allows you to remove unnecessary segments from your audio recordings.
The button resembling a speech bubble in the bottom left displays the complete audio transcript, updating in real-time as you speak. When you tap a word, it will rewind to that section of the recording. Using the bottom right button with three sliders, you can customize playback speed. For mono or stereo recordings, there’s a Skip Silence toggle and Enhance Recording option that minimizes background noise. For spatial recordings, a Studio Sound feature is available, along with an intensity slider to make the audio sound more professional.
Finally, remember to press the blue button to save your settings before tapping it again to save your voice memo. If location services are active, the memo will adopt the name of your current location—just select the name if you want to change it.
Managing and Syncing Your Voice Memos
The interface for listening to and managing your voice memos is user-friendly. Memos are arranged by the date of recording, with the latest ones appearing at the top. Simply tap on a memo to listen or use the three-dot button to access options such as sharing, renaming, or adding to favorites.
If you have multiple recordings, the Search icon can help you find keywords within the transcripts. You can also navigate through recordings by type using the arrow in the upper left and even create folders for better organization.
Moreover, your memos sync across all your Apple devices via iCloud for your convenience. To enable this, go to Settings > [Your name] > iCloud > Saved to iCloud and ensure that Voice Memos is checked. Remember, iOS also offers an effective feature for recording calls that provides a smoother experience compared to using Voice Memos on another device.