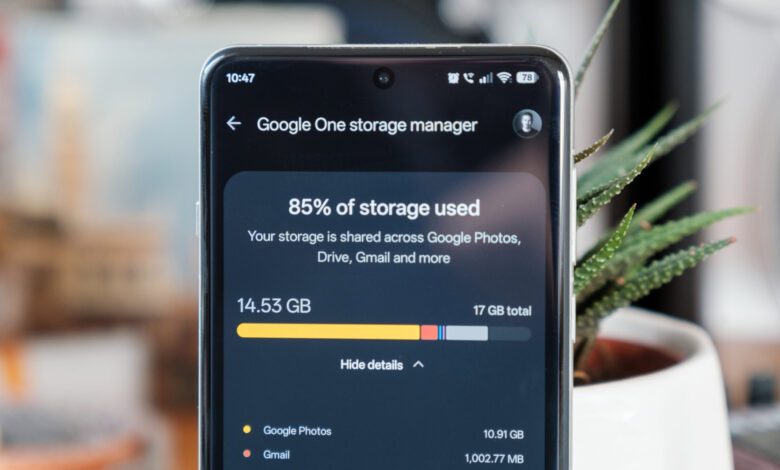
For years, I’ve been enjoying Google’s free storage service, keeping my photos, emails, and messages backed up without any cost. However, recently, I’ve edged closer to the 15GB limit—surpassing that due to my early sign-up benefits—which prompted Google One notifications urging an upgrade to a paid storage plan.
Despite the appealing $1.99 monthly fee for 100GB, I’m hesitant. I know reaching that capacity is just a matter of time, leading to ultimately paying $4.99, and then $9.99 monthly for added space. While Google One may offer value through its additional features, I’m content with just using the free storage, opting for a USB drive for my other files.
To manage those persistent notifications, I decided to clear some unnecessary data. Surprisingly, I discovered almost 4GB of outdated files. Here’s how I tackled the cleanup.
Utilize Google’s Storage Management Tools
Google provides built-in tools that can significantly ease the cleanup process. Access the Google One Storage Manager through the Drive or Photos apps on your Android device, or via a browser.
This tool offers helpful suggestions for cleaning up large files across various categories such as photos, email attachments, and large documents, making it straightforward to identify hefty files that can be deleted. It lists the largest offenders first, enabling you to remove what you no longer need.
If you’re like me, you’ll likely find old videos and oversized photos that are just taking up space. If Google Photos isn’t your main backup tool, consider transferring these files to your computer and deleting them from Photos, as removing them typically deletes them from your phone as well. Ensure any essential content is backed up before doing so.
I also found a lot of old emails to delete, particularly attachments from countless school messages totaling over 400MB of unnecessary data freed by cleaning up my inbox.
I also checked other folders that Google Photos automatically backed up to verify I wasn’t saving redundant content. To do this, open the app and tap on the Folders icon to see what’s being backed up. If you find folders like Screenshots being included, you can easily turn off the backup option for them.
After my cleanup, I freed up nearly 4GB of unnecessary data, eliminating those pesky notifications and allowing me to temporarily forget about cloud storage.
Prevent Future Storage Issues
Eventually, however, Google’s 15GB limit will be an issue again if you continue to back up parts of your life. I’ve started to notice my available storage filling back up after cleaning my device, which prompted me to adopt a few strategies to maintain my free storage effectively.
For long-term security, I’ve begun transferring old photos to a NAS, which, while costly at first, saves money on recurring cloud storage fees. For those sticking with free options, optimizing photo sizes is beneficial. Photos from newer smartphones often exceed 16MB; switching to formats like HEIF can greatly reduce file sizes without compromising quality. Similarly, recording videos in HEVC can save lots of space, and most modern camera apps have settings to accommodate these formats.
If you’re using WhatsApp, review its backup settings too. Group chats can accumulate massive files over time, eating into storage. WhatsApp allows you to exclude videos from backups, which helps conserve space. Checking your settings regularly is wise for ongoing optimization.
All in all, Google’s free storage is handy but can fill up quickly when shared across multiple services. It’s essential to regularly clean up old attachments and only save what’s necessary. I’ve reclaimed substantial storage without losing vital files, and while I may need to repeat this process, I prefer occasional digital decluttering over adding extra subscription costs.