Transforming My Laptop’s Sound: How a Linux App Revived My Dreary Speakers Without New Gear

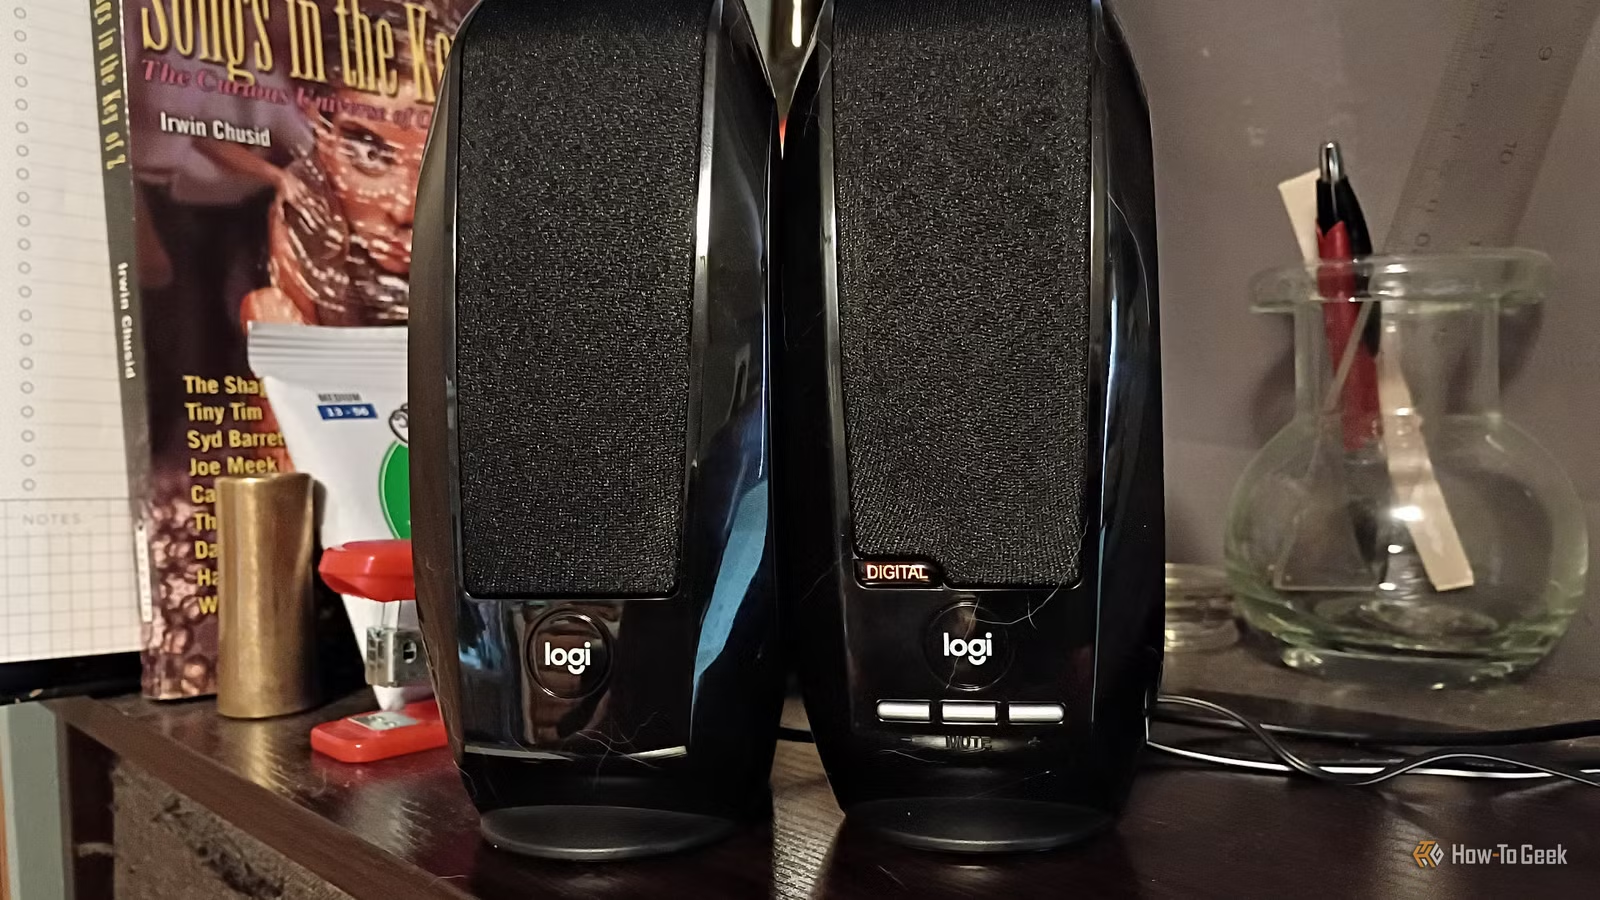
My current computer speakers leave much to be desired. Sometimes I think a simple coffee can with my phone inside would produce better sound. I once owned a pair of M-Audio monitors for my record player, but they broke down. I ended up buying a $15 set of Logitech speakers as a replacement. While I can manage decent sound by tweaking various settings in my audio applications, the overall quality is still lacking. Luckily, I discovered a way to enhance the sound experience without the need for new speakers: Easy Effects for Linux.
An Audio Effects Solution for Linux
One of the aspects I appreciate about Linux is the community’s commitment to developing lightweight, open-source applications accessible to everyone. Easy Effects allows users to fully customize and control real-time audio across different devices including speakers, microphones, and overall system output, which I find particularly helpful.
The application constructs an effects pipeline that’s tailored to user preferences. The effects are modular, enabling you to select only the ones you wish to apply to your audio devices. I installed it on my Linux Mint system with a simple command and can also download it as a flatpak for quick installation.
My Budget Speakers
Better Sound Than My Current Setup
It’s been quite a while—about a year—since I last had good speakers. Until I can find another set of M-Audio monitors and find space for them, I’m on a quest to enhance my existing setup.
Due to some hearing loss I experience, I’m picky about sound quality. I often use a combination of studio monitoring and bone conduction headphones to help me. Still, I enjoy listening to music through speakers when possible.
Unfortunately, these speakers offer lackluster audio. The sound is tinny, bass is nearly nonexistent, and the treble is overly harsh. While they’re suitable for podcasts and videos, they fall short when it comes to music. However, after first using Easy Effects, I could immediately tell a difference in sound quality.
Navigating the Easy Effects Interface
Quickly Getting an Effects Pipeline Started
Easy Effects provides an intuitive experience, with a clean interface making it straightforward to adjust settings. Upon opening the program, I was surprised at how user-friendly it is. There’s a clear layout with options for Input, Output, and PipeWire.
In the Input section, you can add effects to input devices, such as microphones. Simply select Effects -> Add Effect and customize your choices.
The Output tab displays any active media players, allowing you to apply or exclude effects as desired. This section focuses on applying effects to speakers.
With a wide array of effects available, I experimented with functions such as Filter, Equalizer, Bass Enhancer, Limiter, and Compressor. It’s essential to arrange these effects properly in the pipeline for optimal functioning.
Audio processes from the top of the effects list downward, which means I set the order to filter first, then equalizer, bass enhancer, and so on.
Setting Up My Effects Pipeline
Tweaking My Favorite Settings
Once my pipeline was ready, I began fine-tuning various settings. The filter was particularly useful, helping to remove sub-bass frequencies my inexpensive drivers struggle with, enhancing midrange clarity significantly. I set the filter to a High-Pass mode with a steep x4 slope at a 150 Hz frequency.
This configuration is tailored to my taste, informed by my background in radio and performance music. Your preferences may differ.
Next, I focused on the equalizer, opting for IIR (Infinite Impulse Response) mode for its efficiency. I adjusted the settings until it matched my personal auditory preference.
For the Bass Enhancer, I had to install the Calf Studio Gear to access the plugin. I adjusted its scope to 150 Hz and fine-tuned the level to lift harmonics slightly.
With the compressor, I set the ratio to 3 and lowered the threshold to -1.0dB. For the limiter, I configured the threshold to -1 dB. These adjustments aim to minimize distortion and enhance the bass response in my budget speakers while providing balanced sound.
I tested the sound with various artists like Rush, Beck, Jaco Pastorius, and The Blues Brothers. While the settings didn’t enhance Beck’s album much (not the best choice for testing), the overall sound quality improved significantly.
Hold on to Your Budget Speakers
No amount of tuning can transform cheap speakers into high-end audio devices. However, I had an enjoyable experience enhancing my $15 Logitech speakers to sound “pretty good” using Easy Effects. The whole process took about an hour and was guided mostly by my personal preferences. I can only imagine how much better it would sound with quality monitors like my old M-Audio setup.