A 3D printer can significantly enhance your creative projects, especially if you enjoy tinkering with microcontrollers and soldering. While many initiatives can benefit from this technology, there are some that truly *depend* on it.
Open-SmartWatch
A smart and open watch experience
The Open-SmartWatch initiative merges hardware like an ESP32-based printed circuit board and battery with open-source software and a 3D-printed case. It comes in two variations: a light model and a GPS model, featuring an assortment of watch faces, utilities, and games.
You can find the STL files needed for 3D printing on the project’s GitHub repository, with the operating system hosted separately. This DIY project is not only budget-friendly but also built for customization and modification.
New OS updates are regularly released, and there are ongoing efforts to develop different hardware models. Another option is Watchy, which also utilizes a 3D-printed case (with injection-molded and CNC cases also available for purchase).
Blu Button
An open-source alternative to the Shelly BLU Button
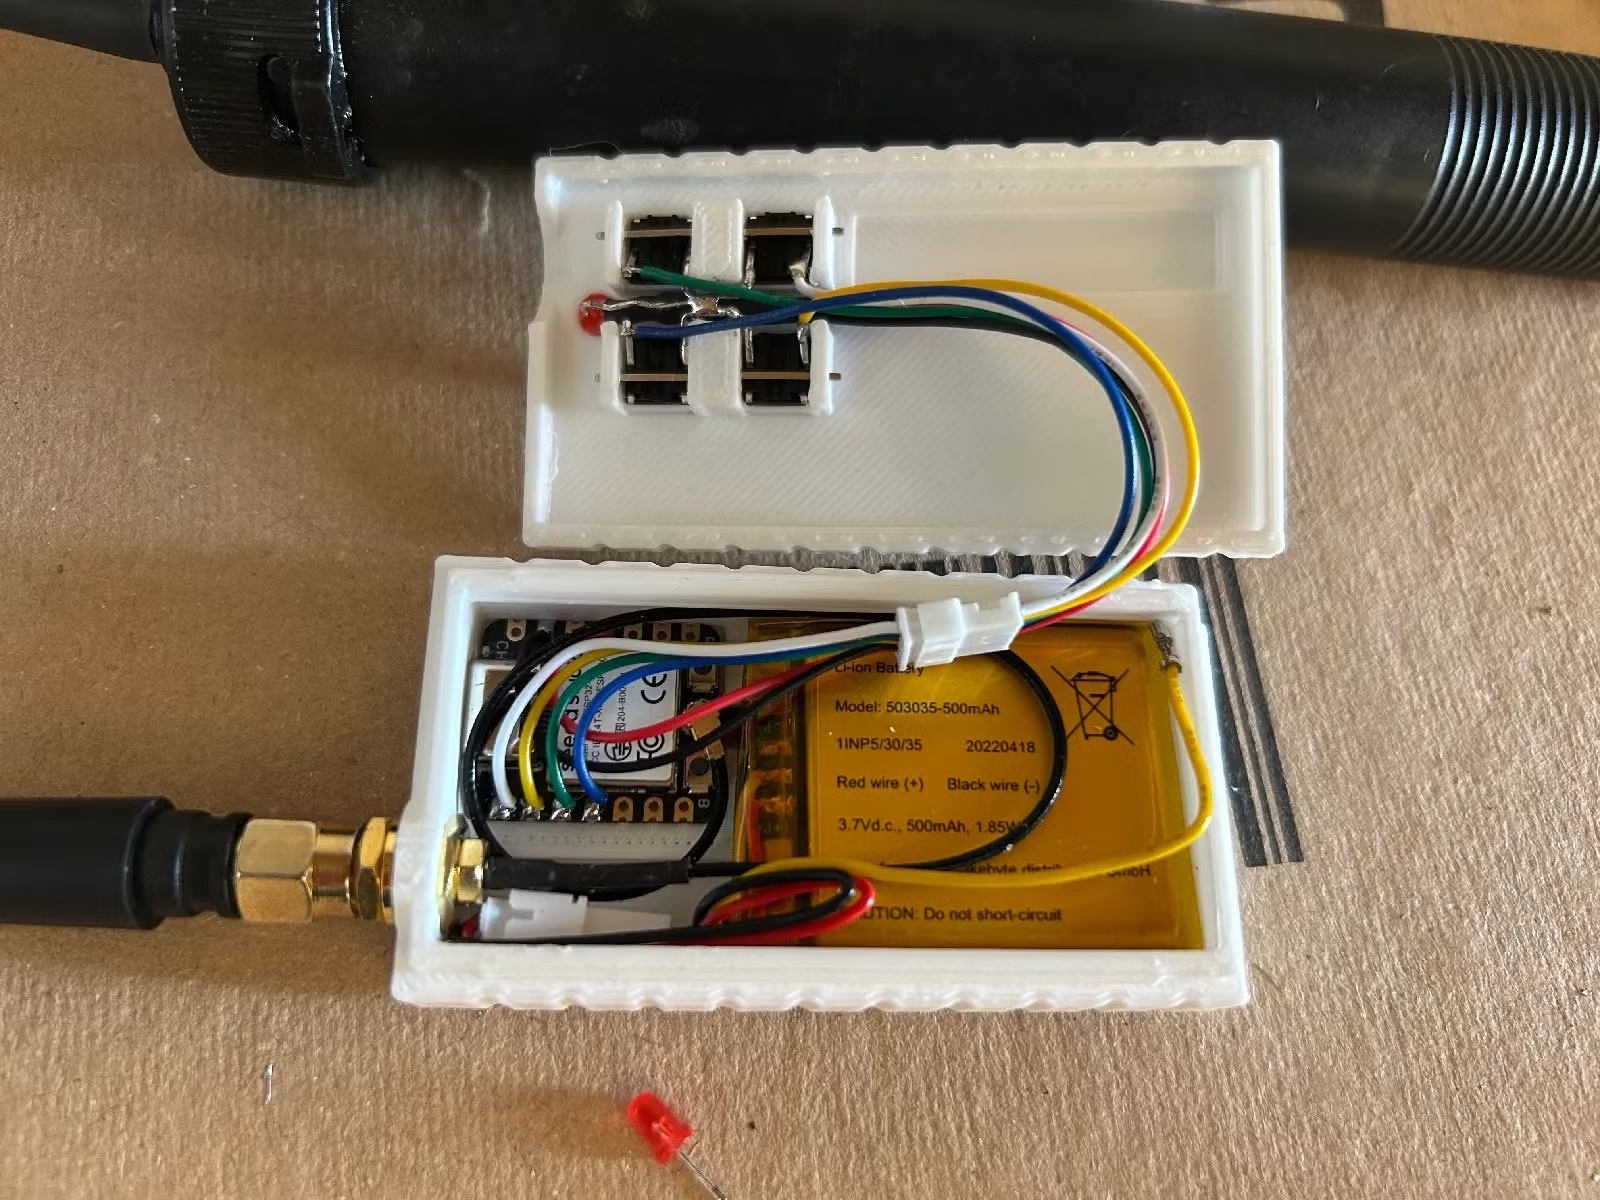
Credit: robertoamd / Printables
The Blu Button is an open-source Bluetooth device designed for various home automation tasks. Built on the BTHome standard, it seamlessly integrates with platforms like Home Assistant.
This project includes a Blu Button Bridge, another piece of ESP32-powered hardware that connects up to eight devices, manages tap sequences, and executes MQTT and GPIO commands with both Shelly products and homemade remote devices.
A 3D-printed enclosure is essential to secure the ESP32 microcontroller, wiring, battery, and antenna, ensuring everything remains organized.
Project Caretaker Remote-Controlled Robot
A robot powered by ESP32-CAM with web capabilities
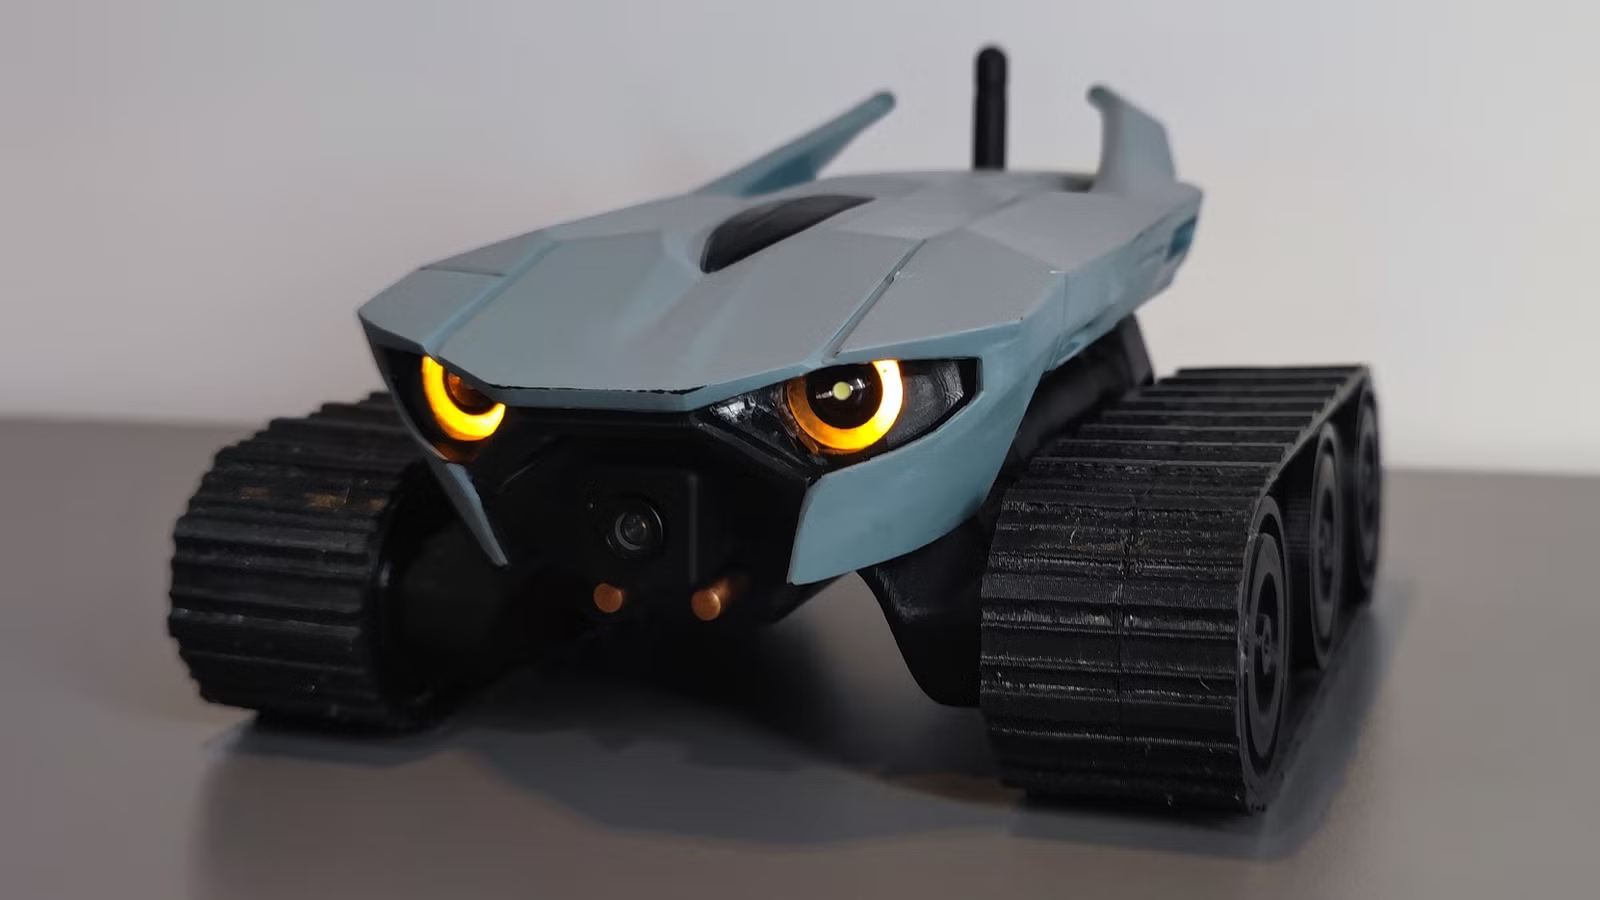
Project Caretaker is an intricate remote-controlled robot based on the ESP32-CAM microcontroller. It consists of a robot and a charging station, utilizing the microcontroller’s camera to stream images to a web interface for live control and monitoring.
The creator has shared detailed assembly instructions, requiring components such as a PCB, multiple lithium-ion batteries, motors, motor drivers, voltage converters, bearings, and more. Additionally, the chassis and several other parts can also be 3D-printed, with designs available online.
This robot even integrates with Home Assistant!
DIY Split-Flap Display
An affordable way to create your own analog display board
The Vestaboard premium split-flap display is a marvel, but its price can be prohibitive. Instead, consider the Splitflap project, which is based on an ESP32 and enables you to construct a customizable display at home, potentially scaling to larger sizes affordably.
A split-flap display utilizes a sequence of letters, numbers, and symbols moved mechanically to convey information that can be updated electronically. Frequently found in airports and train stations before digital displays became prevalent, this design bridges the gap between analog and digital technology.
The project is fully open-source, though the cost for hardware can increase with display size. The updated version features 52 flaps, while older 40-flap modules are still supported. If you’ve always wanted an operational split-flap display and enjoy hands-on projects, this is an excellent choice.
Motorized Blind Controller
<h3.Build your own smart blinds instead of purchasing them
Finding the perfect smart blinds can be a hassle. Many options don’t fit well, leading to frustration. One effective solution is to modify existing blinds, creating your own motorized version using a controller based on the ESP8266 (or ESP32).
A 3D printer is essential for producing much of the required hardware, including the casing and gearing. Combine this with a stepper motor, bearings, and some additional components (like wiring and screws), and you’ll have a cost-effective solution for motorized smart blinds.