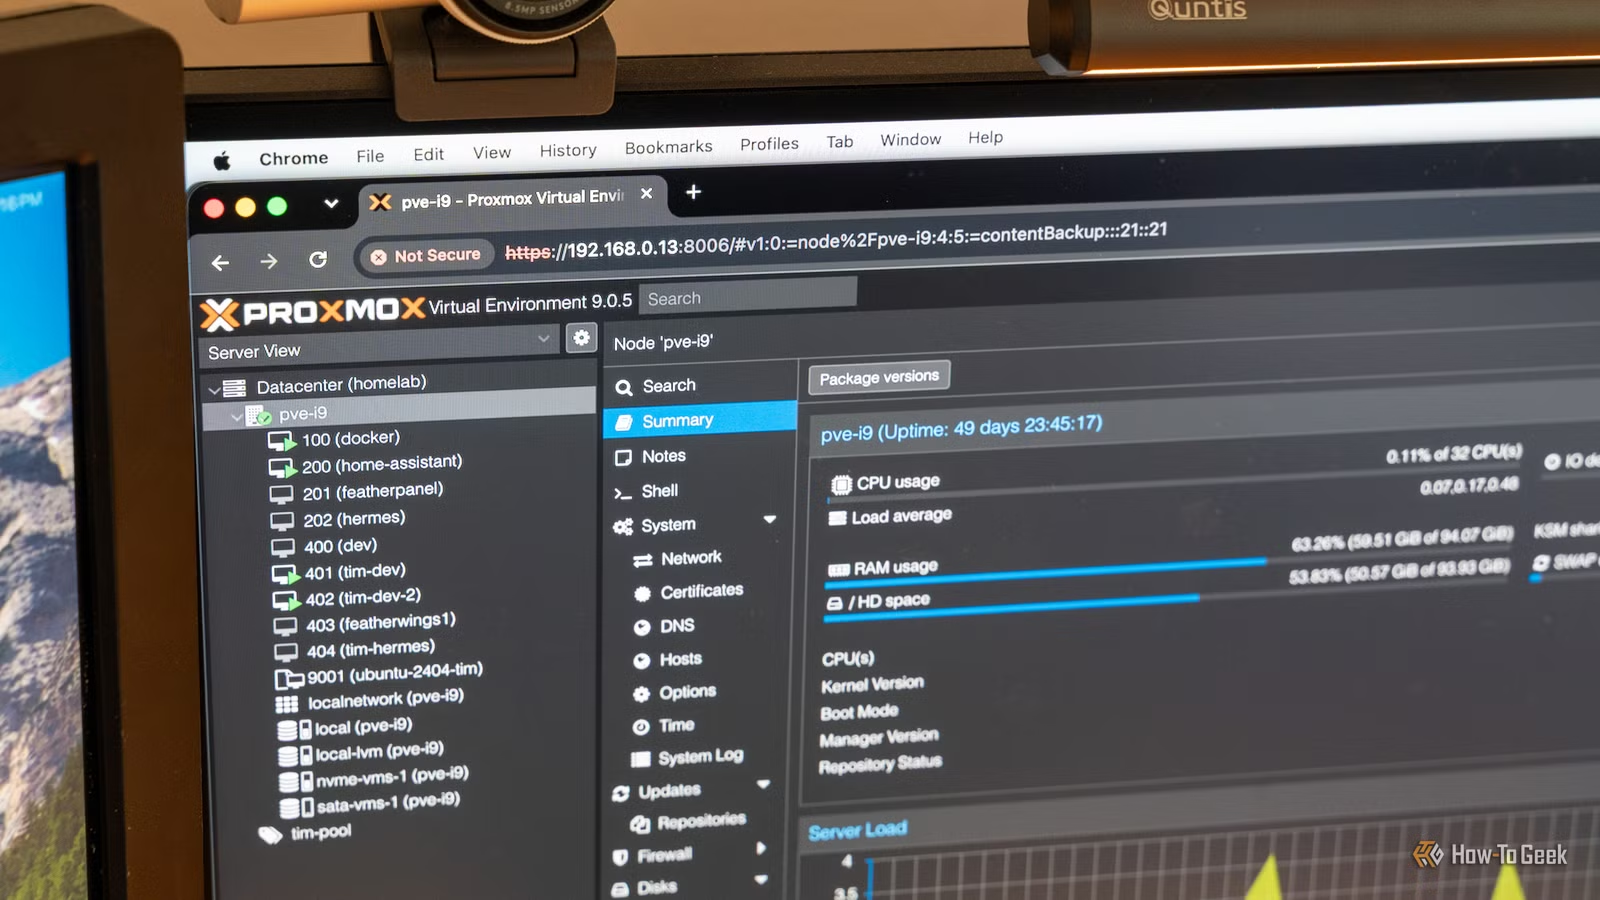
If you’re considering using Proxmox in your home lab, you’re on the right track! This robust operating system has become an integral part of my own setup. However, there are key beginner projects that you should tackle before diving deep into Proxmox. Here are five essential skills to develop in Proxmox to help you design your ideal home lab.
Set Up Your First Linux Virtual Machine
Virtual Machines: The Core of Proxmox
Proxmox serves as a virtual machine manager, making it vital to create a virtual machine early in your experience. Since you’ll likely be running Linux as your primary OS, it’s a perfect starting point.
Creating a Linux virtual machine is pretty simple. First, upload the ISO image you want to use or let Proxmox download it. Begin the VM creation process by selecting the node for your deployment, assigning a unique ID (numbers only), and giving it a name. You can skip the resource pool option for most home lab configurations. After that, choose the ISO for the installation.
You can keep the default graphics settings, and while the machine defaults to i440fx, I often use q35. The BIOS can stay as is unless you have a reason to enable UEFI. Similarly, only add TPM or QEMU Agent if necessary.
Choosing the disk is straightforward: select the desired size and storage location. The remaining options are usually optional. For the CPU, determine the number of cores you need; keep the sockets at one unless you have a dual-CPU setup. I tend to change the CPU type from the default to “host” so the VM utilizes the real CPU features rather than virtual ones.
RAM is measured in MiB; multiply your desired GB by 1024 for the correct amount. Keep the network settings at their default unless you have a specific need to alter them, and then proceed to deploy!
Create a Reusable VM Template
Simplifying New VM Creation
Once you’ve set up your first VM to your liking, don’t rush forward—pause to convert it into a template. This action will allow you to deploy new virtual machines swiftly in the future.
Had I known to do this earlier in my Proxmox journey, I would have saved so much time. Deploying new Ubuntu VMs becomes a matter of a few clicks instead of a lengthy install process.
To create a template, simply right-click on the VM you wish to convert and select “Convert to template.” It’s really that easy!
Set Up Automatic VM Backups
Preparing for Unexpected Issues
Backing up your virtual machines is critical before disaster strikes—I learned this lesson the hard way. You can either store backups on local Proxmox storage or mount external storage like a NAS for additional safety.
Manage backups through the Datacenter tab on the top sidebar. You can review your storage setup and mount a NAS if desired. Afterward, navigate to the backup tab to configure which virtual machines you want to back up and at what intervals.
Pass a USB or PCIe Device to a Guest
Device Pass-Through for Enhanced Functionality
Passing a PCIe device via IOMMU is a more advanced task in Proxmox, but connecting a USB device to a VM is relatively straightforward. You might wonder why you’d want to pass a device to a guest VM in the first place.
By default, when you plug a USB device or install a PCIe card, the Proxmox host recognizes it, while the virtual machines see only what the host allows. Thus, you need to configure each VM to recognize specific devices.
This process is managed in the Hardware tab of the VM by clicking the Add icon. IOMMU devices require more setup, often for tasks like passing through a graphics card, while USB devices are more accessible by simply selecting “Add USB Device.”
Add an Extra Storage Drive for VMs, ISOs, and Backups
Expanding Storage Offers Many Benefits
Adding extra storage to Proxmox can greatly enhance its functionality. All forms of storage within Proxmox are given equal treatment, but various types exist.
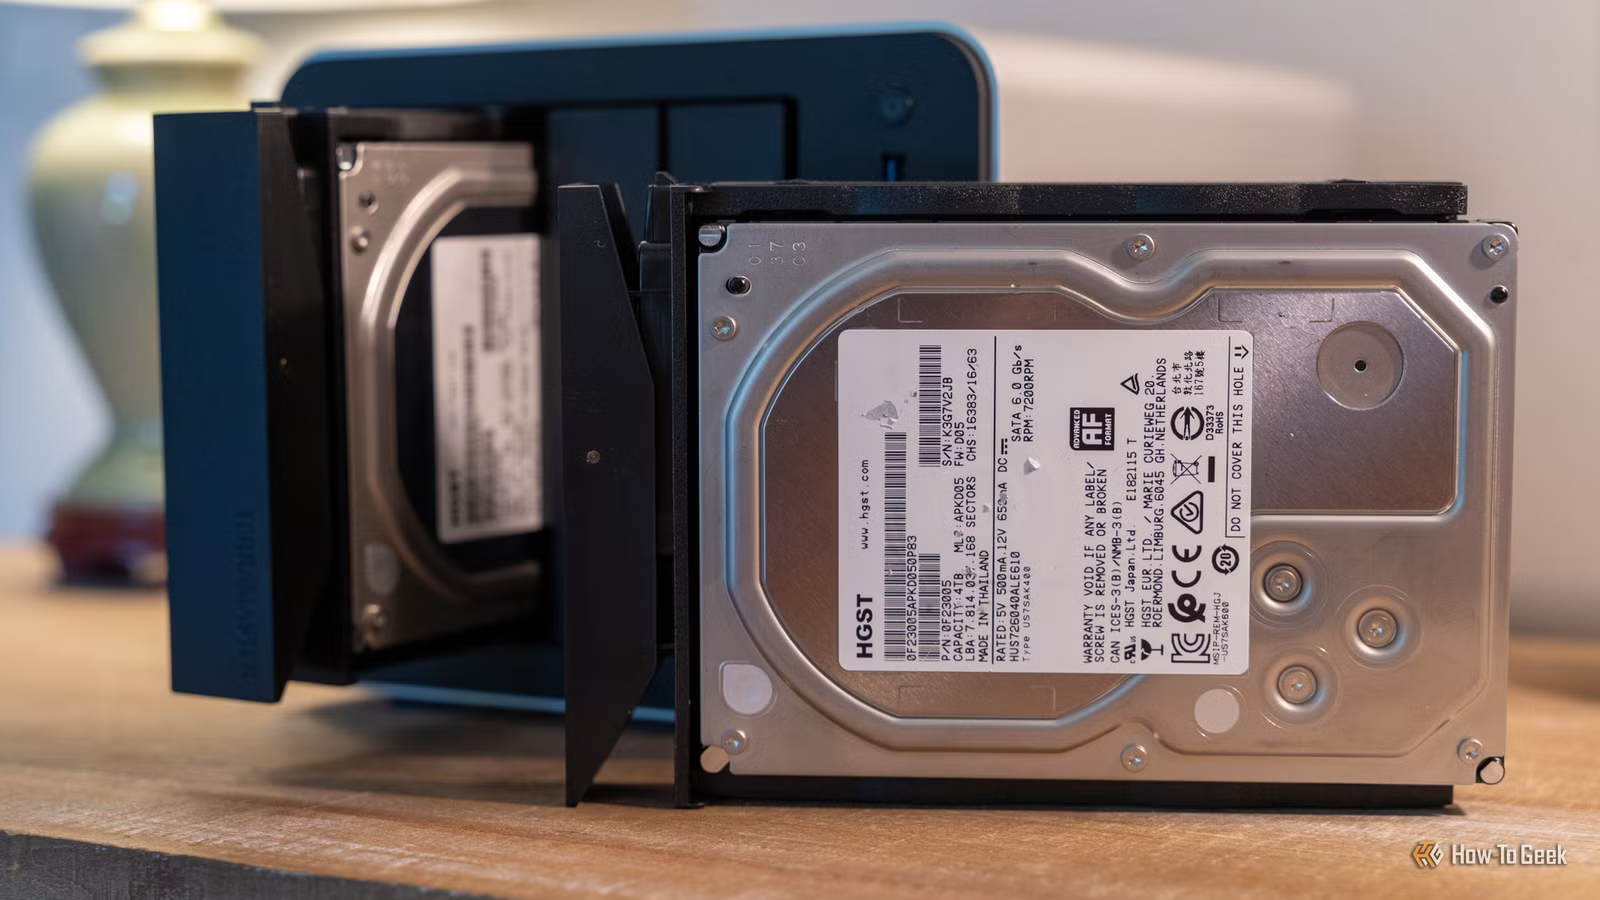
You can utilize a local hard drive or SSD connected directly to the Proxmox host through SATA or PCIe. Additionally, mounting remote storage options like NFS, SMB, or CephFS is possible.
I typically use local storage along with NFS on my Proxmox nodes. Depending on my setup, VMs might reside on the NFS-mounted NAS or be stored locally.
For high availability setups, I prefer NFS-mounted VMs, but I generally stick to local storage for everything except backups.
Backups to a NAS are an excellent solution since these devices often have RAID configurations and may back up to the cloud, making your Proxmox backups more secure than keeping them on the system.
Storage management occurs at both the Datacenter and node levels, so visit each area according to what you’re trying to mount.
Proxmox: A Feature-Rich Platform
While I outlined five projects in this article, it’s merely scratching the surface of Proxmox’s capabilities. I’ve been using Proxmox for about a year and a half, and I still discover new functions I haven’t tried.
If I were starting fresh, these projects would be my priority as they would save me numerous headaches I encountered during my own learning process with Proxmox.