Crafting a Weekend Bluetooth Tracker with ESP32: Let nRF Connect Handle the Details

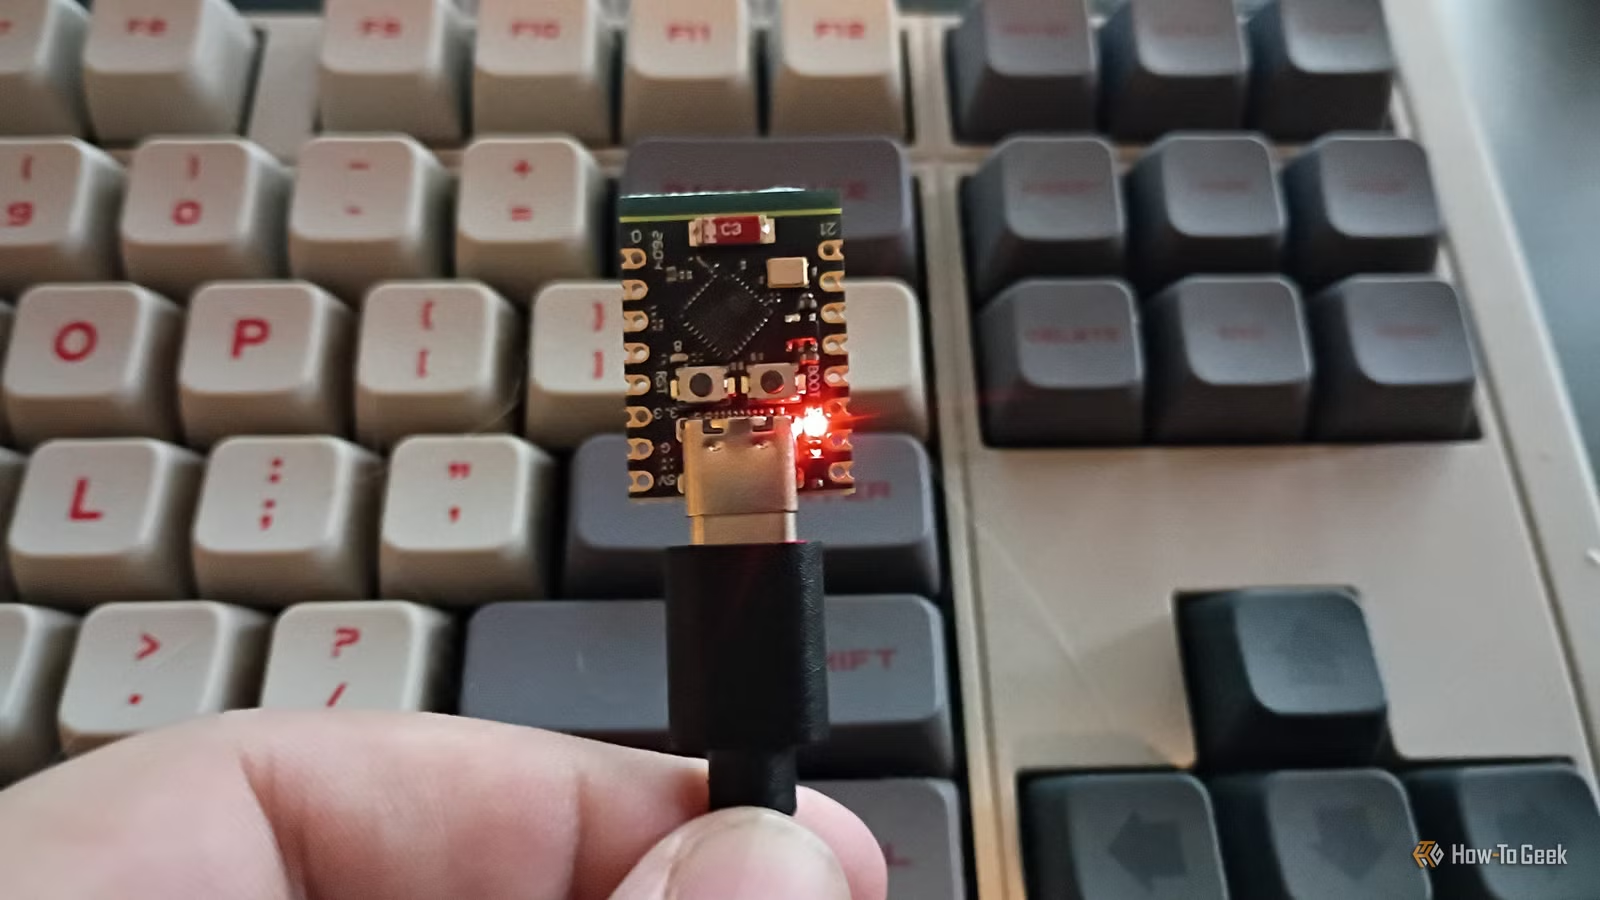
Over the weekend, I sought out an engaging home lab project and realized it had been some time since I last worked with an ESP32 board. Amongst my collection, I have several ESP32-C3 Supermini boards, prompting the thought, “Why not create a tracking tag using these?” After conducting some research, I embarked on a fun experiment with this concept.
Initiating the ESP32 Project
Gather Necessary Hardware and Software Before You Start
When jumping into a “maker” project, ensuring you have the right hardware is crucial. While software is generally easy to obtain, lacking the required chips or boards can derail your efforts completely.
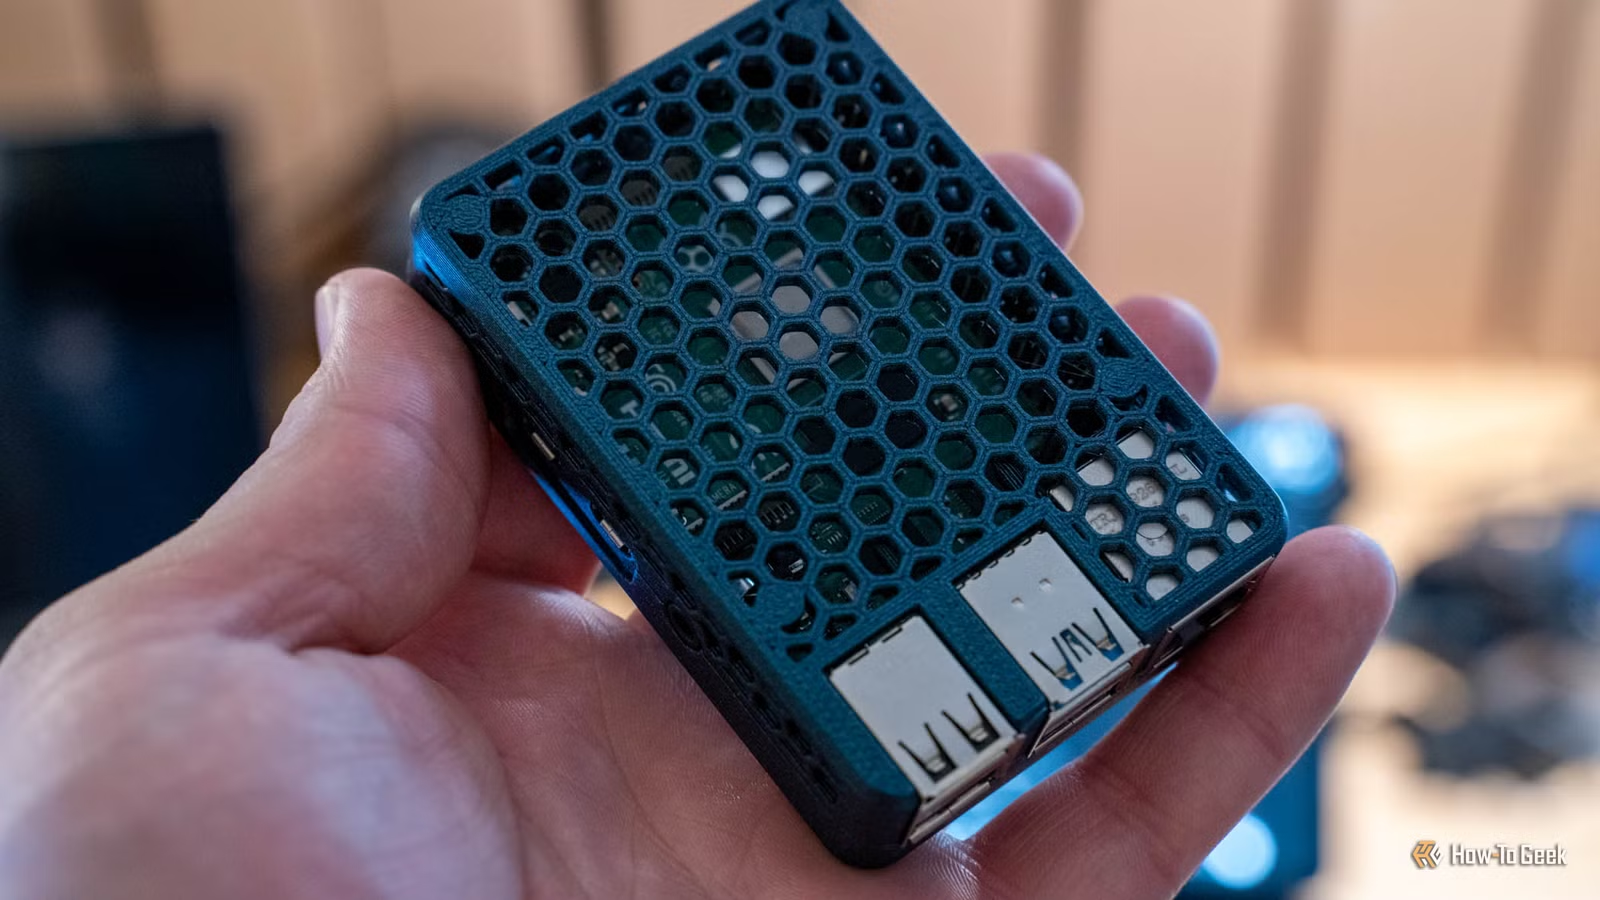
Though I already had my ESP32 boards ready to go, if you don’t possess one, they are relatively inexpensive online. Additionally, I have a dedicated Android phone within my lab setup to facilitate this project.
For this undertaking, I’ll utilize a de-bloated Motorola Moto G 2025 as a receiver, and my Supermini boards will act as the tracking tags. Having explored various methods online, I felt quite confident in proceeding.
After connecting my ESP32 board to a USB cable and a computer, I was ready to dive into the project.
Preparing the ESP32 Mini Board
The First Step in Creating the Tag
To develop a tracking tag with this board, it requires some firmware. There is open-source Bluetooth Low Energy beacon firmware compatible with ESP32 boards, which can be installed via a browser-based web flasher utility. The board features low-power Bluetooth capabilities, allowing it to mimic the signals produced by authentic tracking beacons.
Located on the board is a tiny boot button labeled BOOT. Even though it’s small, I didn’t need a magnifying glass to locate it. Holding it down while connecting to power puts the board into hardware bootloader mode.
To ensure my PC recognized the board, I had to press the adjacent RST button while continuing to hold BOOT. Although using such micro boards can be straightforward, the small labeling presented a challenge.
Programming the ESP32 Board and Acquiring the Necessary Software
Simple Steps to Prepare the Tracker
While alternatives like Google FindMy Tools exist, I preferred not to engage with the Google ecosystem. Instead, I’m employing the Arduino IDE to develop custom firmware, which will then be flashed to the ESP32 board, followed by installing a tracking app.
A bit of guidance from Espressif helped me kick off the process. Inside Arduino IDE, I aimed to configure a Bluetooth Low Energy beacon on the board, a task that proved somewhat tricky.
Having some experience with various lab projects, I contacted a friend for assistance in refining my script. My earlier attempts had syntax errors, but with her help, the beacon script was ready for deployment. I also needed to add my user to the Linux dialout group to successfully upload the script to the board.
After uploading the script, I moved on to the next phase: tracking!
Locating the Signal
Utilizing a Mobile App to Track the Bluetooth Tag
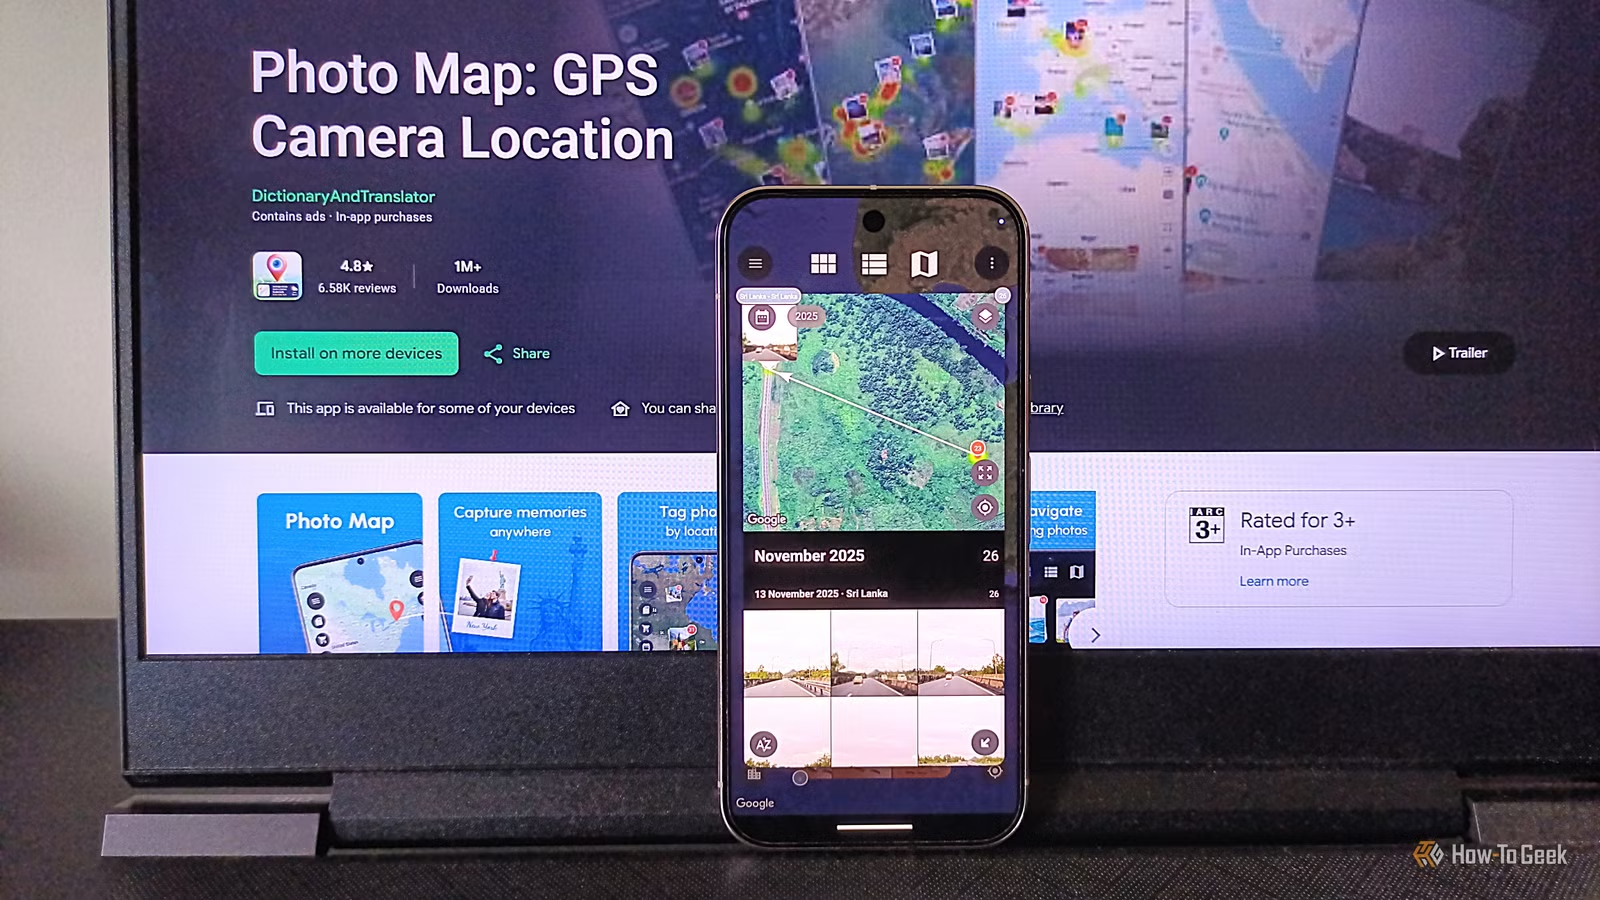
With the challenging aspects behind me, I downloaded the nRF Connect app on my Motorola for tracking purposes. While it operates differently from Google or Apple’s tracking services, it can alert me when the tag is out of range, which is a practical start for my ESP32 project.
Within the nRF Connect app, I discovered the chip, which I named MauvePorpoise, and monitored the signal strength as I moved the board. The signal registered at -67 dBm when directly beside me, and curiously, the signal strengthened as I traversed my house—likely due to the signals bouncing off the walls. I anticipated it would drop quickly beyond -90 dBm, especially when I took it outside to the garage, as I assumed the weak antenna might pose a challenge.
I ventured outside, keeping the board powered via a secondary Android device, and wandered around my garage and yard. My wife observed to see when the signal strength diminished. I gauged that it dropped from range when I reached the far side of my yard, approximately 40 feet from my home lab. This range is fairly comparable to that of standard AirTags, which is impressive.
However, it’s important to note that, unlike AirTags which utilize a network to track lost items, my setup merely informs me whether something is nearby or has disappeared entirely. While it’s fun as a learning experiment, it doesn’t offer comprehensive location tracking.
Integrating small batteries or power packs into the boards could create effective “left-behind” alert tags, but describing it as a substitute for AirTags would be an exaggeration. Nevertheless, it does demonstrate potential for basic tracking tasks.
ESP32 Projects Offer Engaging Weekend Activities
Reengaging with the micro board community was a delightful experience. Tackling a simple project that could be completed over a weekend was a wise choice. I’m pleased with the tracking tag I created, even though the process wasn’t without its challenges. Overall, I’m excited to explore more ESP32 projects alongside my ongoing Raspberry Pi endeavors in the future.